hostname: login.leonardo.cineca.it
early availability: March, 2023
start of pre-production: June, 2023 (Booster)
last quarter 2023 (Data Centric)
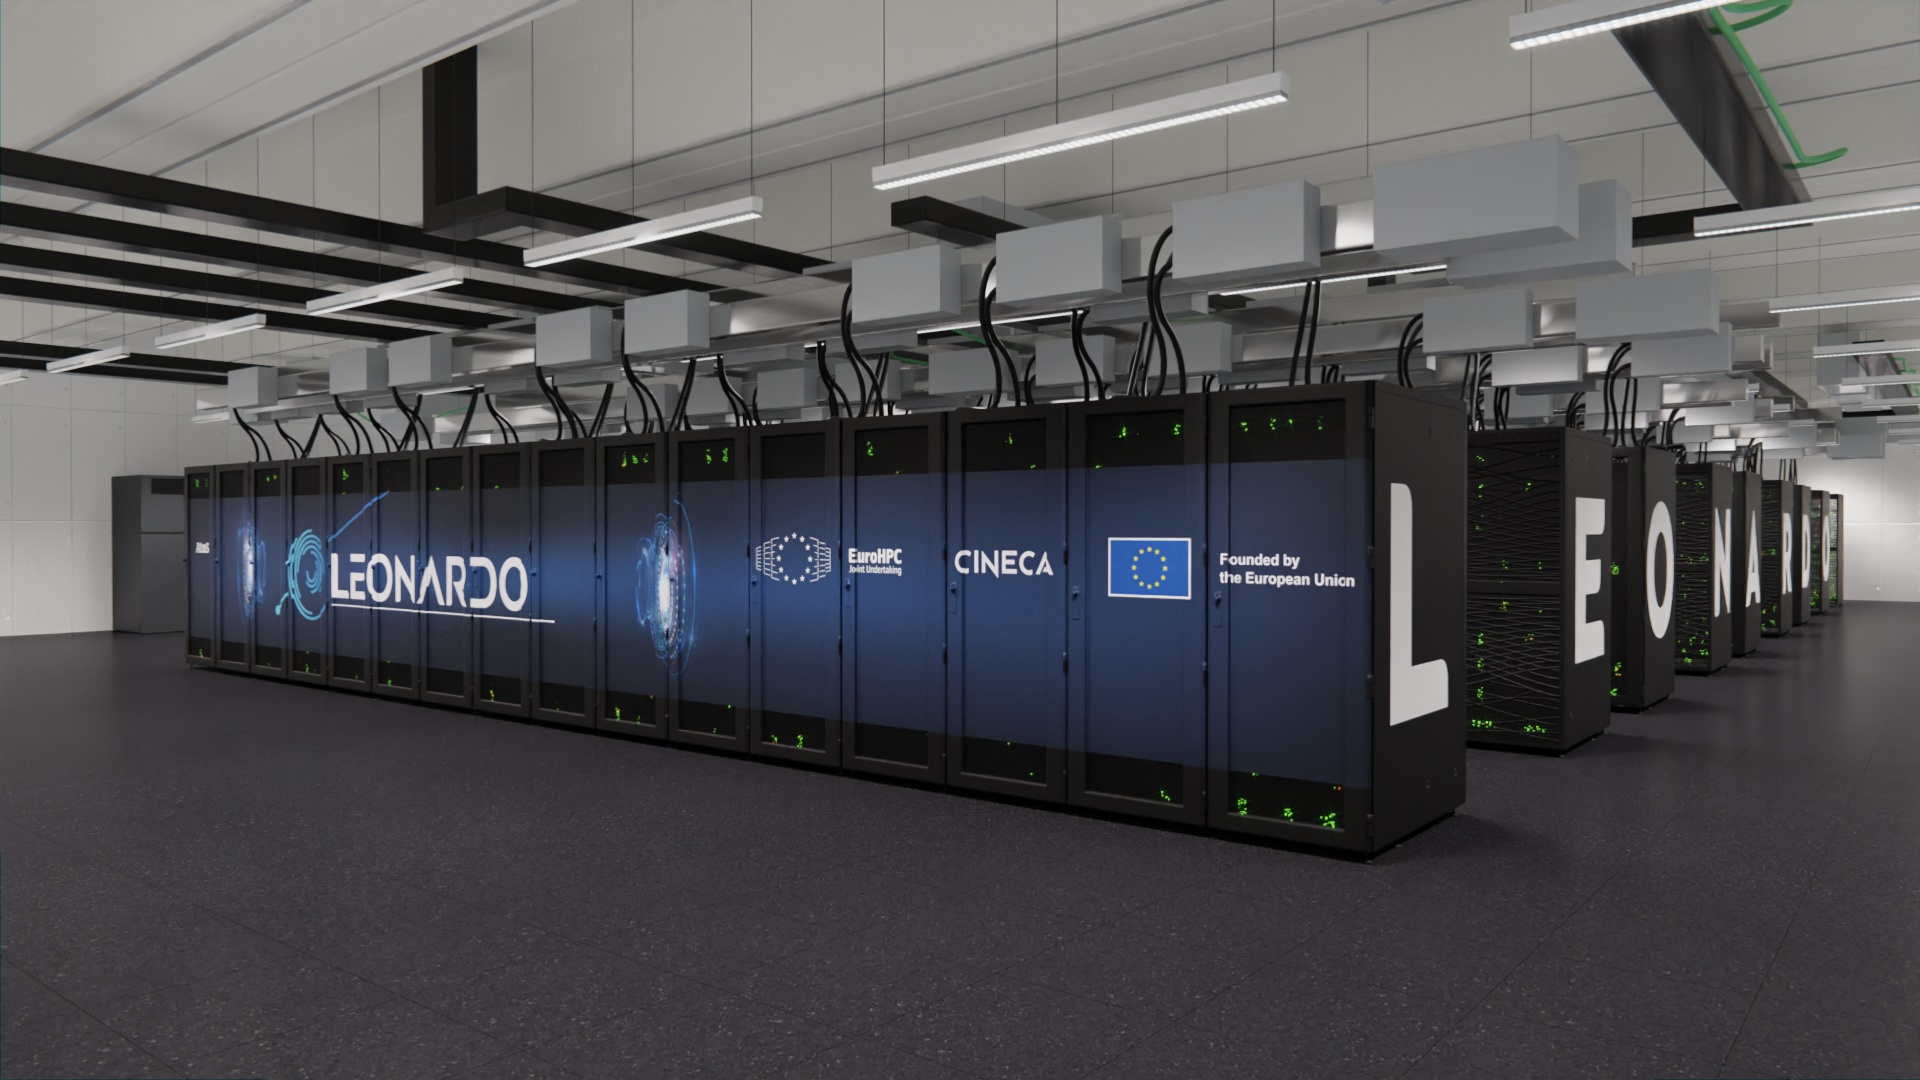
This system is the new pre-exascale Tier-0 EuroHPC supercomputer hosted by CINECA and currently built in the Bologna Technopole, Italy. It is supplied by ATOS, based on a BullSequana XH2135 supercomputer nodes, each with four NVIDIA Tensor Core GPUs and a single Intel CPU. It also uses NVIDIA Mellanox HDR 200Gb/s InfiniBand connectivity, with smart in-network computing acceleration engines that enable extremely low latency and high data throughput to provide the highest AI and HPC application performance and scalability.
System Architecture
Architecture: Atos BullSequana XH21355 "Da Vinci" blade - Booster - Atos BullSequana X2610 compute blade - Data-centric (will be available in the last quarter of the 2023)
Internal Network: Nvidia Mellanox HDR DragonFly+ 200 Gb/s
Storage: 106 PB (raw) Large capacity storage, 620 GB/s
High Performance Storage 5.4 PB, 1.4 TB/s Based on 31 x DDN Exascaler ES400NVX2
Login nodes: in β production 1 (16 later): login14 accessible via IP 131.175.43.130, icelake no-gpu
|
| |||||||||||||||||||||||||||||||||
|---|---|---|---|---|---|---|---|---|---|---|---|---|---|---|---|---|---|---|---|---|---|---|---|---|---|---|---|---|---|---|---|---|---|---|
The following guide refers already to the production configuration. The pre-production phase will begin in the next few days, with a mandatory access via 2FA. Please refer to the Access section below in the Leonardo User Guide.
Peak performance details
| Node Performance | ||
Theoretical | CPU (nominal/peak freq.) | 1680 Gflops |
| GPU | 75000 Gflops | |
| Total | 76680 GFlops | |
| Memory Bandwidth (nominal/peak freq.) | 24.4 GB/s | |
Access
All the login nodes have an identical environment and can be reached with SSH (Secure Shell) protocol using the "collective" hostname:
> login.leonardo.cineca.it
The mandatory access to Leonardo is the two-factor authentication (2FA). Please refer to this link of the User Guide to activate and connect via 2FA. For information about data transfer from other computers please follow the instructions and caveats on the dedicated section Data storage or the document Data Management.
Accounting
The accounting is still unavailable in this pre-production phase and will soon be implemented.
For accounting information please consult our dedicated section.
The account_no (or project) is important for batch executions. You need to indicate an account_no to be accounted for in the scheduler, using the flag "-A"
#SBATCH -A <account_no>
With the "saldo -b" command you can list all the account_no associated with your username.
> saldo -b (reports projects defined on LEONARDO )
Please note that the accounting is in terms of consumed core hours, but it strongly depends also on the requested memory and number of GPUs, please refer to the dedicated section.
Budget Linearization policy
On LEONARDO, as on the other HPC clusters in Cineca, a linearization policy for the usage of project budgets has been defined and implemented. The goal is to improve the response time, giving users the opportunity of using the cpu hours assigned to their project in relation to their actual size (total amount of core-hours).
Disks and Filesystems
The storage organization conforms to the CINECA infrastructure (see Section Data Storage and Filesystems).
In addition to the home directory $HOME, for each user is defined a scratch area $CINECA_SCRATCH, a large disk for the storage of run time data and files.
A $WORK area is defined for each active project on the system, reserved for all the collaborators of the project. In this pre-production phase the $WORK area is not yet available. Until the $WORK areas will be configured and put in place the automatic cleaning of the scratch area will NOT be active.
Total Dimension (TB) | Quota (GB) | Notes | |
|---|---|---|---|
| $HOME | 0.46 PiB | 70GB per user |
|
| $CINECA_SCRATCH | 41.4 PiB | no quota |
|
| $WORK | not yet available (10PB) |
|
- work filesystem: the $WORK areas are not available yet. Until they will be configured and put in place the automatic cleaning of the scratch area will NOT be active.
It is also available a temporary storage local on compute nodes generated when the job starts and accessible via environment variable $TMPDIR. For more details please see the dedicated section of UG2.5: Data storage and FileSystems. On LEONARDO the $TMPDIR local area has 1 TB of available space.
Since all the filesystems are based on Lustre, the usual unix command "quota" is not working. Use the local command cindata to query for disk usage and quota ("cindata -h" for help) that will be available soon.
> cindata
Software environment
Module environment
The software modules are collected in different profiles and organized by functional categories (compilers, libraries, tools, applications,...). The profiles are of two types: “programming” type (base and advanced) for compilation, debugging and profiling activities, and “domain” type (chem-phys, lifesc,..) for the production activity. They can be loaded together.
"Base" profile is the default. It is automatically loaded after login and it contains basic modules for the programming activities (ibm, gnu, pgi, cuda compilers, math libraries, profiling and debugging tools,..).
If you want to use a module placed under other profiles, for example an application module, you will have to load preventively the corresponding profile:
>module load profile/<profile name>
>module load <module name>
Almost all the softwares on Leonardo were installed with Spack manager, which loads automatically the possible dependencies, so autoload comand is unnecessary. In other cases could be useful to load dependencies with
> module load autoload <module name>
For listing all profiles you have loaded you can use the following command:
>module list
In order to detect all profiles, categories and modules available on LEONARDO, the command “modmap” will be soon available as for the other clusters. With modmap you can see if the desired module is available and which profile you have to load to use it.
>modmap -m <module_name>
Spack environment
In case you don't find a software you are interested in, you can install it by yourself.
In this case, on Leonardo we also offer the possibility to use the “spack” environment by loading the corresponding module. Please refer to the dedicated section in UG2.6: Production Environment
Please note that we are still optimizing Leonardo software stack, and more installations may be added/replaced. Always check with "module av" (the hash in the module name can change).
GPU and intra/inter connection environment
It will be described soon.
Production environment
Since LEONARDO is a general purpose syste and is used by several users at the same time, long production jobs must be submitted using a queuing system (scheduler). The scheduler guarantees that the access to the resources is as fair as possible
The production environment on LEONARDO, is based on the slurm scheduler, already in place on the cluster but still not complete and in a pre-production configuration.
Leonardo is based on a policy of node sharing among different jobs, i.e. a job can ask for resources and these can also be a part of a node, for example few cores and 1GPU. This means that, at a given time, one physical node can be allocated to multiple jobs of different users. Nevertheless, exclusivity at the level of the single core is guaranteed by low-level mechanisms.
Roughly speaking, there are two different modes to use an HPC system: Interactive and Batch. For a general discussion see the section Production Environment.
Interactive
A serial program can be executed in the standard UNIX way:
> ./program
This is allowed only for very short runs on the login nodes. Soon we will impose 10 minutes cpu-time limit for the interactive processes. Please do not execute parallel applications on the login nodes!
Batch
As usual on HPC systems, the large production runs are executed in batch mode. This means that the user writes a list of commands into a file (for example script.x) and then submits it to a scheduler (SLURM for Leonardo) that will search for the required resources in the system. As soon as the resources are available script.x is executed and the results and sent back to the user.
This is an example of script file:
#!/bin/bash
#SBATCH -A <account_name>
#SBATCH -p boost_usr_prod
#SBATCH --time 00:10:00     # format: HH:MM:SS
#SBATCH -N 1                # 1 node
#SBATCH --ntasks-per-node=4 # 4 tasks out of 32
#SBATCH --gres=gpu:4        # 4 gpus per node out of 4
#SBATCH --mem=123000          # memory per node out of 494000MB
#SBATCH --job-name=my_batch_job

srun ./myexecutable
- Please refer to the general online guide to slurm and on task/thread bindings, and please pay attention to the setting of the SRUN_CPUS_PER_TASK for hybrid applications dispatched with "srun".
You can write your script file (for example script.x) using any editor, then you submit it using the command:
> sbatch script.x
The script file must contain both directives to SLURM and commands to be executed, as better described in the section Batch Scheduler SLURM.
Using SLURM directives you indicate the account_number (-A: which project pays for this work), where to run the job (-p: partition), what is the maximum duration of the run (--time: time limit). Moreover you indicate the resources needed, in terms of cores, GPUs (later) and memory.
One of the commands will be probably the launch of a parallel MPI application. In this case the right command is srun, as an alternative to the usual mpirun command. In this way you will get full support for process tracking, accounting, task affinity, suspend/resume and other features.
Please note: the "mail" directives are not effective yet.
SLURM partitions
A list of partitions defined on the cluster, with access rights and resources definition, can be displayed with the command sinfo:
> sinfo -o "%10D %20F %P"
The command returns a more readable output which shows, for each partition, the total number of nodes and the number of nodes by state in the format "Allocated/Idle/Other/Total".
In the following table you can find the main features and limits imposed on the partitions of Leonardo.
SLURM partition | Job QOS | # cores/# GPU per job | max walltime | max running jobs per user/ max n. of cores/nodes/GPUs per user | priority | notes |
lrd_all_serial not yet available | normal | max = 1 core, 1GPU | 04:00:00 | 4 cpus/1 GPU | 40 | |
| qos_install | max = 16 cores | 04:00:00 | max = 16 cores 1 job per user | 40 | request to superc@cineca.it | |
boost_usr_prod | normal | max = 32 nodes | 24:00:00 | 40 | ||
| boost_qos_dbg | max = 2 nodes | 00:30:00 | 2 nodes / 64 cores / 8 GPUs | 80 | ||
| boost_qos_bprod | min = 33 nodes max =256 nodes * | 24:00:00* | 256 nodes * | 60 | runs on 512 nodes min is 33 FULL nodes | |
| boost_qos_lprod | max = 3 nodes | 4-00:00:00 | 3 nodes /12 GPUs | 40 |
- *For the "boost_usr_prod" partition you can use at most 32 nodes (MaxTime=24:00:00). Please request the boost_qos_bprod QOS to go up to 512 nodes (MaxTime=10:00:00) This limit will be in place until May 25, when it will be reduced to 256 nodes with MaxTime=24:00:00 (production environment) before May 25.
- For EUROFusion users and their dedicated queues please refer to the dedicated document.
Graphic session
It will be available soon.
Programming environment
Leonardo compute nodes host four A100 GPUs per node (CUDA compute capability 8.0). The most recent versions of nVIDIA CUDA toolkit and of the nVIDIA nvhpc compilers (ex PGI, supporting CUDA Fortran) is available in the module environment.
Compilers
You can check the complete list of available compilers on MARCONI with the command:
> module available
and checking the "compilers" section. The available compilers are:
- Gnu Compilers Collection (GCC)
- NVIDIA nvhpc (ex PGI)
- CUDA
NVIDIA nvhpc (ex PORTLAND PGI + NVIDIA CUDA)
As of August 5, 2020, the "PGI Compilers and Tools" technology is a part of the NVIDIA HPC SDK product, available as a free download from NVIDIA.
| Invocations | Usage |
|---|---|
| nvc | Compile C source files (C11 compiler. It supports GPU programming with OpenACC, and supports multicore CPU programming with OpenACC and OpenMP) |
| nvc++ | Compile C++ source files (C++17 compiler. It supports GPU programming with C++17 parallel algorithms (pSTL) and OpenACC, and supports multicore CPU programming with OpenACC and OpenMP) |
| nvfortran | Compile FORTRAN source files (supports ISO Fortran 2003 and many features of ISO Fortran 2008. It supports GPU programming with CUDA Fortran and OpenACC, and supports multicore CPU programming with OpenACC and OpenMP) |
| nvcc | CUDA C and CUDA C++ compiler driver for NVIDIA GPUs |
For legacy reasons, the nVIDIA nvhpc suite also offers the PGI C, C++, and Fortran compilers with their original names:
| Invocations | Usage |
|---|---|
| pgcc | Compile C source files. |
| pgc++ | Compile C++ source files. |
| pgf77 | Compile FORTRAN 77 source files |
| pgf90 | Compile FORTRAN 90 source files |
| pgf95 | Compile FORTRAN 95 source files |
To enable CUDA C++ or CUDA Fortran, and link with the CUDA runtime libraries, use the -cuda option (-Mcuda is deprecated). Use the -gpu option to tailor the compilation of target accelerator regions.
The OpenACC parallelization is enabled by the -acc flag. GPU targeting and code generation can be controlled by adding the -gpu flag to the compiler command line.
The OpenMP parallelization is enabled by the -mp compiler option. The GPU offload via OpenMP is enabled by the -mp=gpu option.
GNU compiler collection
The gnu compilers are always available. GCC version 8.5.0 is available without the need to load any gcc module. In the module environment you can find more recent version though.
The name of the GNU compilers are:
- g77: Fortran77 compiler
- gfortran: Fortran95 compiler
- gcc: C compiler
- g++: C++ compiler
The documentation can be obtained with the man command after loading the gnu module:
> man gfortan
> man gcc
CUDA
Compute Unified Device Architecture is a parallel computing platform and programming model developed by NVIDIA for general computing on graphical processing units (GPUs). With CUDA, developers are able to dramatically speed up computing applications by harnessing the power of GPUs.
In GPU-accelerated applications, the sequential part of the workload runs on the CPU – which is optimized for single-threaded performance – while the compute intensive portion of the application runs on thousands of GPU cores in parallel. When using CUDA, developers program in popular languages such as C, C++, Fortran, Python and MATLAB and express parallelism through extensions in the form of a few basic keywords. We refer to the NVIDIA CUDA Parallel Computing Platform documentation.
Debugger and Profilers
If at runtime your code dies, then there is a problem. In order to solve it, you can decide to analyze the core file (core not available with PGI compilers) or to run your code using the debugger.
Compiler flags
Whatever your decision, in any case, you need to enable compiler runtime checks, by putting specific flags during the compilation phase. In the following we describe those flags for the different Fortran compilers: if you are using the C or C++ compiler, please check before because the flags may differ.
The following flags are generally available for all compilers and are mandatory for an easier debugging session:
-O0     Lower level of optimization
-g      Produce debugging information

Other flags are compiler specific and are described in the following:
PORTLAND Group (PGI) Compilers
The following flags are useful (in addition to "-O0 -g") for debugging your code:
-C                     Add array bounds checking
-Ktrap=ovf,divz,inv    Controls the behavior of the processor when exceptions occur:
                       FP overflow, divide by zero, invalid operands
GNU Fortran compilers
The following flags are useful (in addition to "-O0 -g")for debugging your code:
-Wall             Enables warnings pertaining to usage that should be avoided
-fbounds-check    Checks for array subscripts.
Debuggers available
GNU: gdb (serial debugger)
GDB is the GNU Project debugger and allows you to see what is going on 'inside' your program while it executes -- or what the program was doing at the moment it crashed.
VALGRIND
Valgrind is a framework for building dynamic analysis tools. There are Valgrind tools that can automatically detect many memory management and threading bugs, and profile your programs in detail. The Valgrind distribution currently includes six production-quality tools: a memory error detector, two thread error detectors, a cache and branch-prediction profiler, a call-graph generating cache profiler, and a heap profiler.
Valgrind is Open Source / Free Software, and is freely available under the GNU General Public License, version 2.
Profilers
In software engineering, profiling is the investigation of a program's behavior using information gathered as the program executes. The usual purpose of this analysis is to determine which sections of a program to optimize - to increase its overall speed, decrease its memory requirement or sometimes both.
A (code) profiler is a performance analysis tool that, most commonly, measures only the frequency and duration of function calls, but there are other specific types of profilers (e.g. memory profilers) in addition to more comprehensive profilers, capable of gathering extensive performance data.
gprof
The GNU profiler gprof is a useful tool for measuring the performance of a program. It records the number of calls to each function and the amount of time spent there, on a per-function basis. Functions which consume a large fraction of the run-time can be identified easily from the output of gprof. Efforts to speed up a program should concentrate first on those functions which dominate the total run-time.
gprof uses data collected by the -pg compiler flag to construct a text display of the functions within your application (call tree and CPU time spent in every subroutine). It also provides quick access to the profiled data, which let you identify the functions that are the most CPU-intensive. The text display also lets you manipulate the display in order to focus on the application's critical areas.
Usage:
> gfortran -pg -O3 -o myexec myprog.f90
> ./myexec
> ls -ltr
   .......
   -rw-r--r-- 1 aer0 cineca-staff    506 Apr  6 15:33 gmon.out
> gprof myexec gmon.out
It is also possible to profile at code line-level (see "man gprof" for other options). In this case, you must use also the “-g” flag at compilation time:
> gfortran -pg -g -O3 -o myexec myprog.f90
> ./myexec
> ls -ltr
   .......
   -rw-r--r-- 1 aer0 cineca-staff    506 Apr  6 15:33 gmon.out
> gprof -annotated-source myexec gmon.out
It is possible to profile MPI programs. In this case, the environment variable GMON_OUT_PREFIX must be defined in order to allow to each task to write a different statistical file. Setting
export GMON_OUT_PREFIX=<name>
once the run is finished each task will create a file with its process ID (PID) extension
<name>.$PID
If the environmental variable is not set every task will write the same gmon.out file.
Nvidia Nsight System (GPU profiler)
Nvidia Nsight System is a system-wide performance analysis tool designed to visualize an application’s algorithms, help you identify the largest opportunities to optimize, and tune to scale efficiently across any quantity or size of CPUs and GPUs; from large server to our smallest SoC.
You can find general info on how to use it in the dedicated Nvidia User Guide pages.
Our suggestion is to run the CLI inside your job script in order to generate the qdrep files. Then you can download the qdrep files on your local PC and visualize them with the Nsight System GUI available on your workstation.
The profiler is available under the module nvhpc.
Standard usage of an MPI job running on GPU is
> mpirun <options> nsys profile -o ${PWD}/output_%q{OMPI_COMM_WORLD_RANK} -f true --stats=true --cuda-memory-usage=true <your_code> <input> <output>On the single node you can also run the profiler as "nsys profile mpirun", but keep in mind that with this syntax nsys will put everything in a single report.
Unfortunately nsys usually generates several files in /tmp dir of the compute node even if a TMPDIR environment variable is set. These files may be big causing the filling of the /tmp folder and, as a consequence, the crash of the compute node and the failure of the job.
In order to avoid such a problem we strongly suggest to include in your sbatch script the following lines around your mpirun call as a workaround:
> rm -rf /tmp/nvidia
> ln -s $TMPDIR /tmp/nvidia
> mpirun ... nsys profile ...
> rm -rf /tmp/nvidia
This will place the temporary outputs of the nsys code in your TMPDIR folder that by default is /dev/shm/slurm_job.$SLURM_JOB_ID where you have about 250 GB of free space.
This workaround may cause conflicts between multiple jobs running this profiler on a compute node at the same time, so we strongly suggest also to request the compute node exclusively:
#SBATCH --exclusive
MPI environment
We offer two options for MPI environment on LEONARDO:
- Open MPI
- Intel-OneAPI-MPI
Here you can find some useful details on how to use them on LEONARDO.
Compiling
OpenMPI
This most common MPI implementation is installed inside the GNU environment.
It is configured to support CUDA-aware.
To install MPI applications using Open MPI you have to load openmpi module (use "modmap -m openmpi" command to see the available Open MPI versions) and select the MPI compiler wrapper for Fortran, C or C++ codes.
The openmpi module provides the following wrappers:
Compiler | Wrapper | Usage |
|---|---|---|
| g++ | mpic++ | Compile C++ source files with GNU |
| gcc | mpicc | Compile C source files with GNU |
| gfortran | mpif77 | Compile FORTRAN source files with GNU |
e.g. Compiling C code
> module load openmpi/<version>
> mpicc -o myexec  myprog.c (uses the gcc compiler)
You can add all options available for the backend compiler (you can show it by "-show" flag, e.g. "mpicc -show"). In order to list them type the "man" command:
> man mpicc
Intel-OneAPI-MPI
This is the MPI implementation of Intel and doesn't support CUDA.
To install MPI applications using Intel MPI you have to load intel-oneapi-mpi module (use "modmap -m intel-oneapi-mpi command to see the available versions).
The intel-oneapi-mpi module provides the following wrappers for classic intel compilers and oneapi ("x") compilers:
Compiler | Wrapper | Usage |
|---|---|---|
icpc icpx | mpiicpc mpiicpc -cxx=icpx | Compile C++ source files with classic Intel Compile C++ source files with oneapi |
icc icx | mpiicc mpiicc -cc=iccx | Compile C source files with classic Intel Compile C source files with oneapi |
ifort ifx | mpiifort (Fortran90/77) mpiifort -fc=ifx | Compile FORTRAN source files with classic Intel Compile FORTRAN source files with oneapi |
e.g. Compiling Fortran code
> module load intel-oneapi-mpi/<version>
> mpiifort -o myexec  myprog.f90 (uses the ifort compiler)
You can add all options available for the backend compiler (you can show it by "-show" flag, e.g. "mpicc -show"). In order to list them type the "man" command
> man mpiifort
Running
To run MPI applications they are two way:
- using mpirun launcher
- using srun launcher
mpirun launcher
To use mpirun launcher the openmpi or intel-oneapi-mpi module needs to be loaded:
> module load openmpi/<version>
or
> module load intel-onepi-mpi/version
> mpirun ./mpi_exec
It can be used via salloc or sbatch way:
> salloc -N 2 (allocate a job of 2 nodes)
> mpirun ./mpi_exec
or
> sbatch -N 2 my_batch_script.sh (allocate a job of 2 nodes)
> cat my_batch_script.sh
#!/bin/sh
mpirun ./mpi_exec
srun launcher
MPI applications can be launched directly with the slurm launcher srun
> srun -N 2 ./mpi_exec
or via salloc/sbatch way:
> salloc -N 2 (allocate a job of 2 nodes)
> srun ./mpi_exec
or
> sbatch -N 2 my_batch_script.sh (allocate a job of 2 nodes)
> vi my_batch_script.sh
#!/bin/sh
srun -N 2  ./mpi_exec
Scientific libraries
Linear Algebra
GPU accelerated
The nvidia math libraries are available by loadind "nvhpc" module (use "modmap -m nvhpc" command to see the available versions of nvhpc).
For not nvidia math libraries installed with cuda support they are available by loading the corresponding module e.g "module load magma/<vers>". Notice that when you load the module of any of these libraries the CUDA module is not automatically loaded).
- BLAS: nvidia cublas, magma
- LAPACK: nvidia cusolver, magma
- SCALAPACK: slate
- EIGENVALUE SOLVERS: nvidia cusolver, magma (single-node), slate, elpa and slepC (multi-node)
- SPARCE MATRICES and : nvidia cuSPARSE, PetSc (multi-node), SuperLU-dist (multi-node)
- Hypre (multi-node)
CUDA not supported
- BLAS: openblas, intel-oneapi-mkl
- LAPACK: openblas, intel-oneapi-mkl
- SCALAPACK: netlib-scalapack, intel-oneapi-mkl
Fast Fourier Transform
GPU accelerated
The nvidia math libraries are available by loadind "nvhpc" module (use "modmap -m nvhpc" command to see the available versions of nvhpc).
nvidia cuFFT/cuFFTW (single-node)
CUDA not supported
- FFTW (single and multi-node)