In this page:
The remote visualization service at Cineca is provided through the Remote Connection Manager (RCM) application. Using this tool you can graphically inspect your data without moving them to your local work station.
System requirements
The “Remote Connection Manager” has been tested and distributed for the following operating systems:
- Microsoft: Windows 7, 8, 10
- Linux : Ubuntu 16.04, Ubuntu 18.04, CentOS 7
- Apple: OSX Mojave
Other Linux distributions are untested.
Download
Download the application compatible with your operating system in the download page. On linux operating system you have to make the file executable with the command "chmod +x filename".
Getting started
Please consider that RCM is a client/server application: every time you interact with the application, server side has to perform some operations that can take some time depending on bandwidth and latency of your Internet connection and workload of the clusters.
Start the application double clicking on the application icon and insert the hostname (see the table below) and hpc username or select a previous session from the drop-down menu, then enter the hpc password "Password" and press “Login”.
| Cluster | Hostname |
|---|---|
| GALILEO100 | rcm.g100.cineca.it |
| MARCONI | rcm.marconi.cineca.it |
| M100 | rcm.m100.cineca.it |
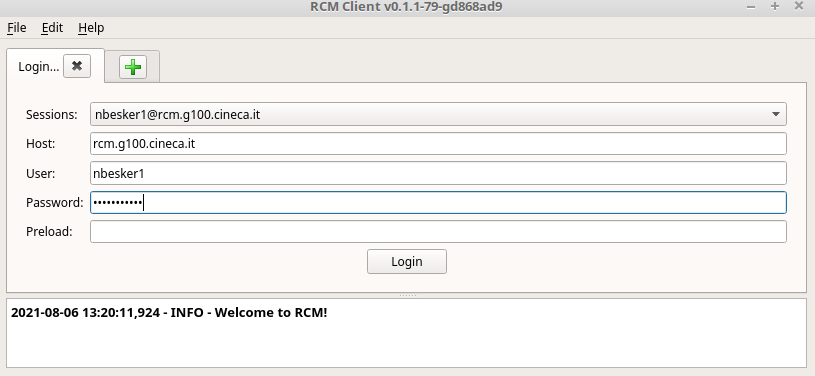
If the passwordless ssh key is enabled on your account/local machine, leave "Password" field empty.
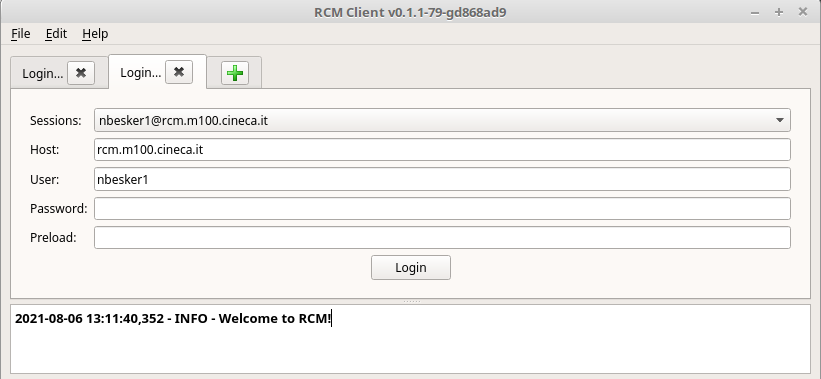
It is possible to manage different RCM ssh sessions, one for each cluster: just click on "+" button in the tab bar and insert the credentials of the new cluster:
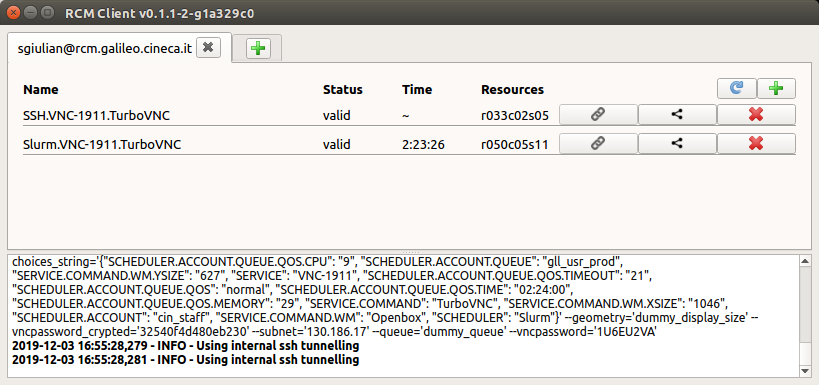
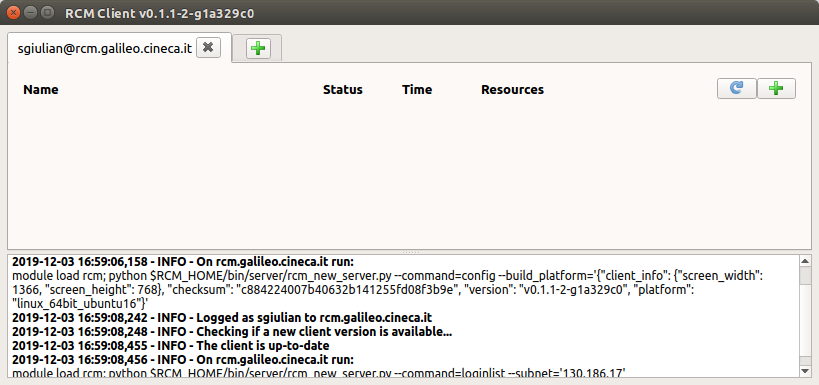
Once logged in, a new tab will show you the list of available remote display sessions. If you have not created a display session yet, the list will be empty:
Working with displays
Create a new display
To create a new display, click on the “+” button on the right:
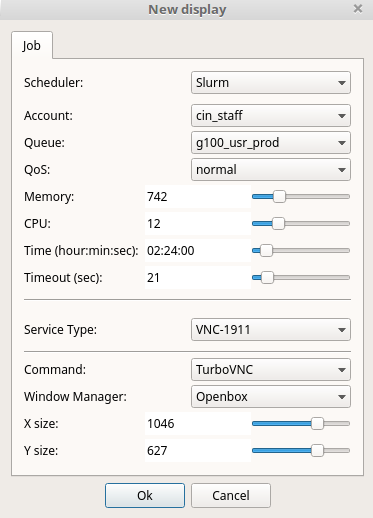
A new window will appear to allow users to set some values that differ depending on the cluster that you are connected to:
- Scheduler: select SSH (no scheduler) or Slurm alternative. For more details see the web page UG2.7.1: Remote Visualisation
- Account: select one of your projects
- Queue: select the partition of Slurm (type of resources) where you want to run. On Galileo, e.g, you can choose the nodes provided with GPUs (gpuprod) or with only CPUs (prod). For more details see the web page UG2.7.1: Remote Visualisation
- Quality of Service (QoS): select one of the permitted qos. The selected QoS will affect the job in wall-time limit (priority) or in permissions. On Galileo100, e.g., select the "dbg" qos for cpu partition if you need a higher priority to run and no more than two hours of elapsed time. For more details see the web page UG2.7.1: Remote Visualisation
- Memory: select the amount of memory (GB) to allocate for your job.
- Time: select the duration of your job. The maximum is 24 hours. If you selected "dbg" qos, you can request, e.g on Galileo100. up to 2 hours.
- GPU: select the number of GPUs if you have selected a GPU queue.
- Service Type: the service default is the latest version of VNC.
- Window Manager: the VNC session can start openbox or fluxbox as window manager. "Openbox GPU only" window manager is supported only on GPU nodes and it preloads the visualization stack (paraview, vtk, vtk). "Openbox/Fluxbox" window manager is supported on all nodes and in order to use visualization applications you have to load the specific module (e.g module load paraview). For more info place the tip of the cursor on a specific element of the proposed list
#########################################
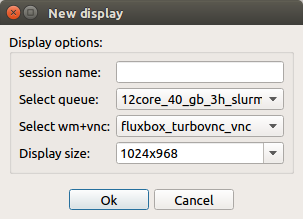
RCM OLD SERVER >> For Marconi cluster the info to set are:
- Session name: insert a name for the new display
- Select queue: select the resources to use (number of cores, amount of memory, wall-time)
- Select wm+vnc: our suggestion is to select fluxbox as window manager for X
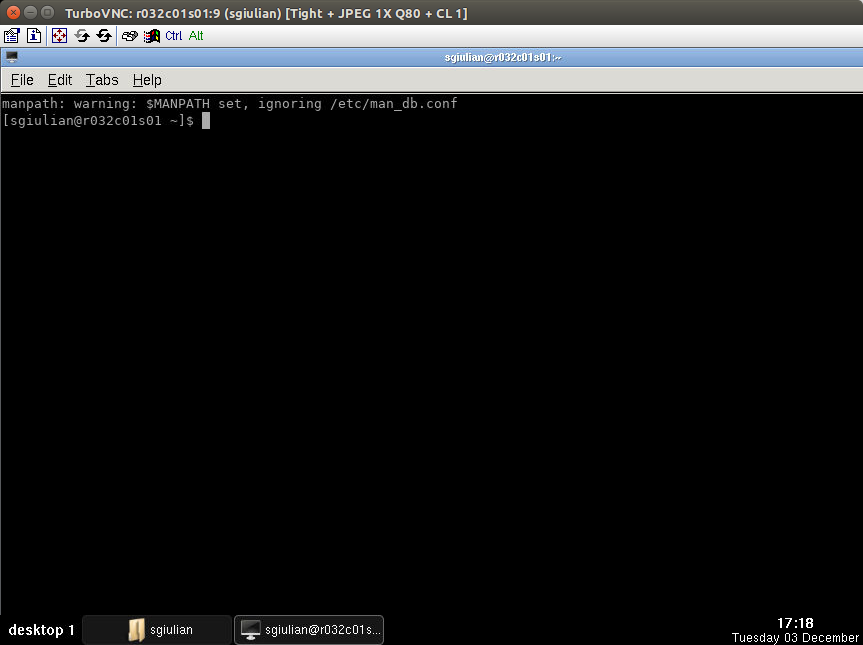
Pressing OK into "new display" window, a remote display session will be created and you will be automatically connected to it. A TurboVNC window will be open.
##########################################
This operation can take some time depending on the workload of the clusters. Now you can start your remote work session.
When a new display is created, a new item will be added to the list of available remote display sessions on the RCM tab, showing some display information that you will see below:
- Name: name of display session
- Status: the condition of the remote display session, pending (starting up the display session), valid (display session is running), killing (deleting the display session)
- Time: the remaining time before the session will ends (if the display session has no time limit, this value is replaced by the symbol "~" ). Note that each display session has a time limit: over that time limit, the display will be automatically killed and not saved data will be lost.
- Resources: the node of the cluster on which the remote display session has been created
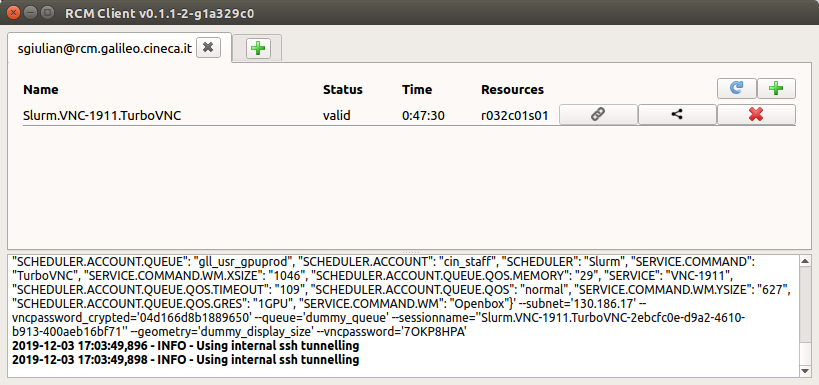
You can update these values by clicking on the "REFRESH" button.
Share a display
Kill a display
Display sessions can be killed by pressing the “KILL THE REMOTE DISPLAY SESSION” button. Just press the "x" button in the row associated with the remote display session you don’t want to use anymore, and it will be removed from the list of the available displays. This operation can take some time, depending on the workload of the clusters. Note that by pressing it, the relative display will be not reachable anymore and you will lose not saved data.
Running a visualization software
In order to execute a visualization software you have to load preventively the corresponding module:
module load paraview paraview
On GPUs resources (select "SSH" or "SLURM – >gll_usr_gpuprod partition") you don't have to just load the visualization software module, but also virtualgl module and launch the executable through vglrun. e.g. Paraview:
module load paraview module load virtualgl vglrun paraviewIf you selected "Openbox GPU only" window manager when you created a new display you have to only execute the visualization software through vglrun command
vglrun paraview
1 Comment
Leonardo De Carlo
From the beginning of the page here:
" The “Remote Connection Manager” has been tested and distributed for the following operating systems:
Other Linux distributions are untested. "
It seems that the page is quite old. Probably to remove since now everyone use other OS.