| Table of Contents |
|---|
This guide helps you to create and activate endpoints in your Globus Web App account.
How to activate a CINECA endpoints
- Login into your Globus Online account then, from "File Manager" header menu, select "Endpoints". In the "search box" type "cineca" and then click on "search all"
- Choose the Endpoint you want, and click on "activate" and then in "activate Now"
- Insert the "username" and "password" of your proxy credential, and finally click on "Authenticate". If you have a Cineca certificate, insert the username and password that you use in order to access CINECA HPC machines.
Now your endpoint is ready to be used.
How to Create and activate your local workstation as an endpoints
- To add your laptop to your endpoints, login into your Globus Web App account then, select "Endpoints" from the header menu and then click on "Create A Personal Endpoint".
- Download the Globus Connect Personal according to your OS. The instructions to install and set the Globus Connect Personal, for each OS, are explained at the following link.
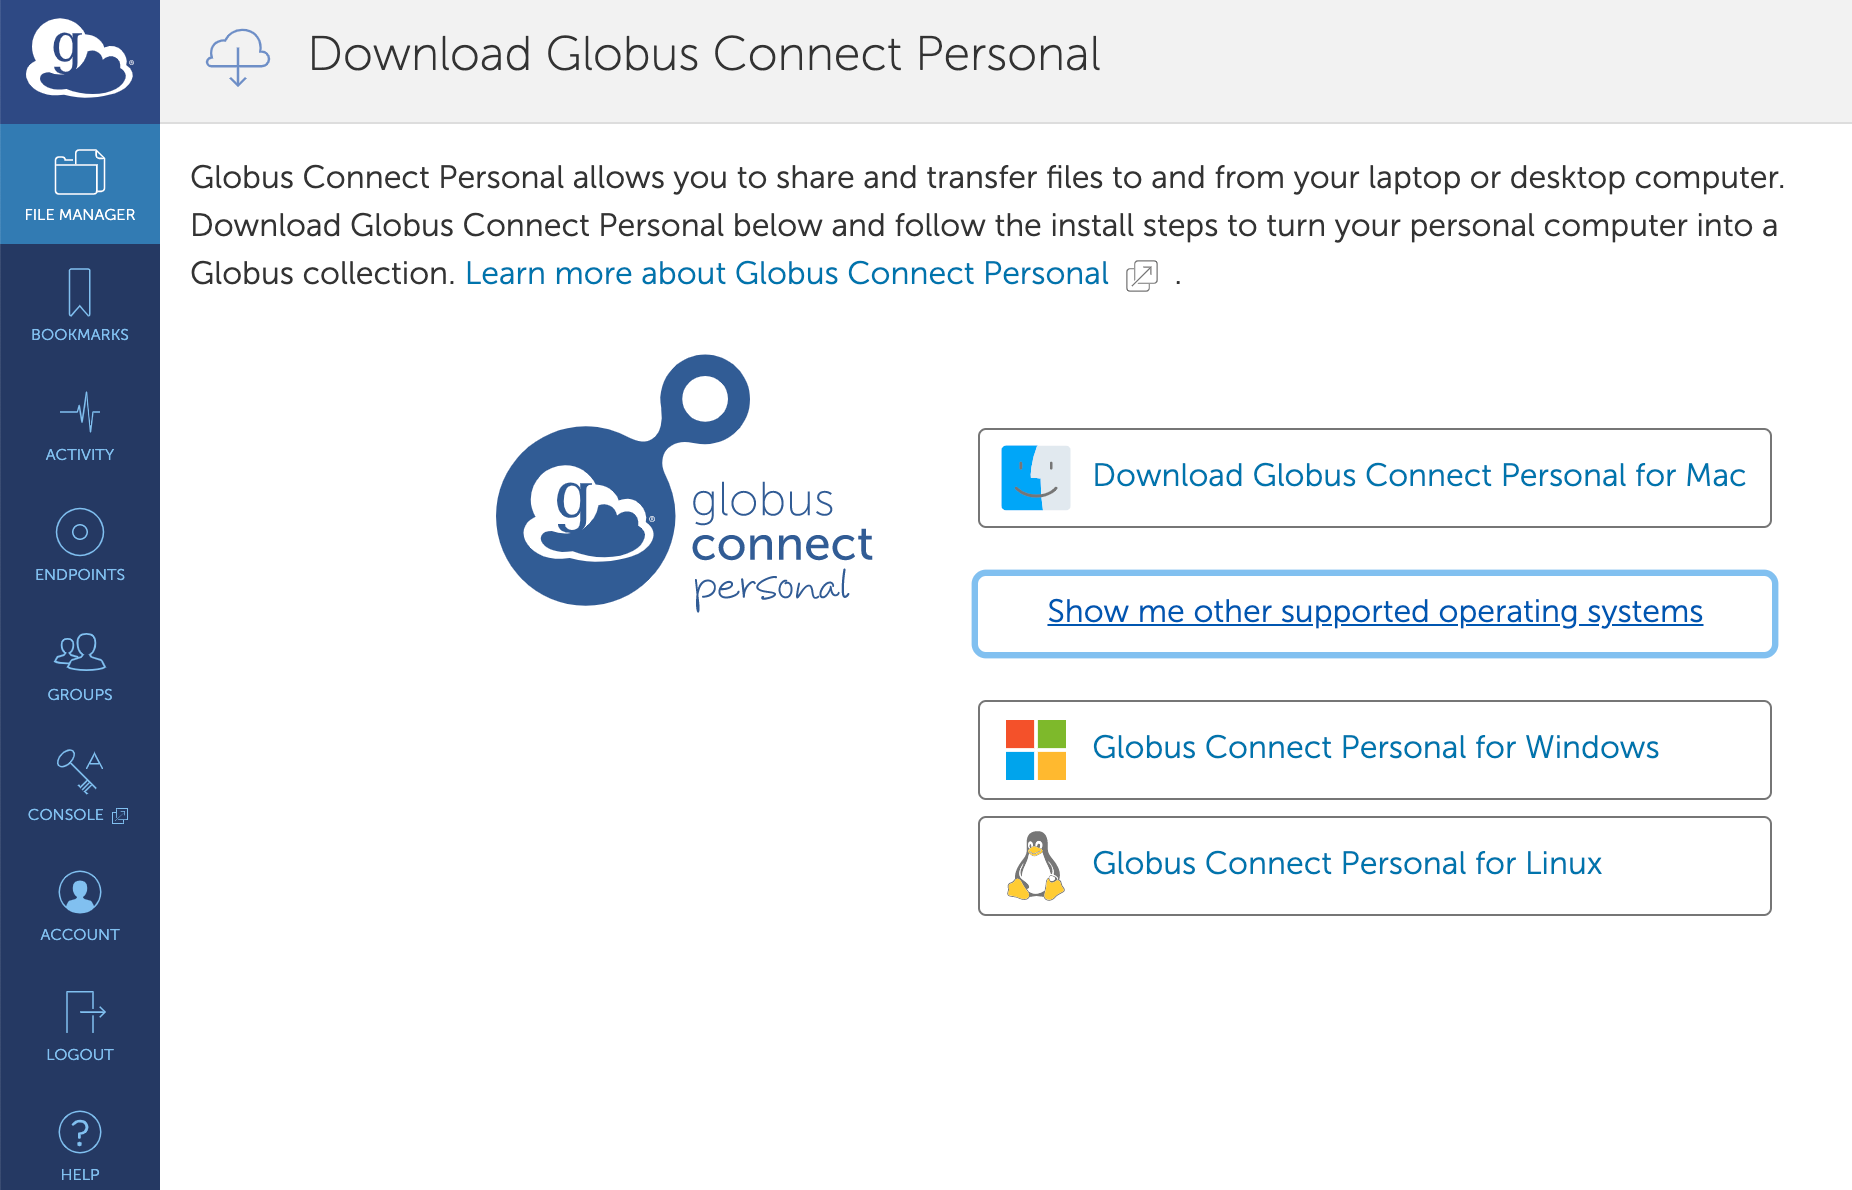
- Globus Connect Personal is now installed and your Globus endpoint is configured and ready to be used.
NOTE: When using Globus Connect Personal, you will only be able to transfer files to and from directories on your local computer that are set to be accessible. To configure which directories are accessible to Globus Connect Personal, you must configure the ~/.globusonline/lta/config-paths file. This file is a plain text file, with each line corresponding to the configuration of a particular directory path you wish to make accessible.
By default, a ~/.globusonline/lta/config-paths file that looks like this will be generated the first time Globus Connect Personal for Linux is run:
| UI Text Box |
|---|
~/,0,1 |
This configuration tells Globus Connect Personal to make the user’s home directory accessible and to make it read/write in terms of the ability to do Globus transfers. If we wanted to configure the user’s home directory to be read only with respect to the ability to do Globus transfers we could change config-paths like so:
| UI Text Box |
|---|
~/,0,0 |
If the user wishes to make additional directories accessible, then each new top level path must be given its own line in the ~/.globusonline/lta/config-paths file.
For example, if the user wanted to enable Globus Connect Personal to access the /data/tables directory then they would add the following line to their config-paths file:
| UI Text Box |
|---|
/data/tables,0,1 |
After making a change to the ~/.globusonline/lta/config-paths file you must stop and restart Globus Connect Personal like so before the changes will take effect:
| UI Text Box |
|---|
$ ./globusconnectpersonal -stop $ ./globusconnectpersonal -start & |
In all cases, it is important to note that a user cannot access a directory or a file via Globus Connect Personal that they don’t have proper unix file permissions for on the local system. Unix file permissions must be considered along with the permissions specified in the config-paths file to determine actual accessibility for a given file or directory. In any case, the most restrictive of the two categories of permissions will always apply.Other FAQ for Globus Connect Personal EndPoint can be found in https://docs.globus.org/faq/globus-connect-endpoints/
List of CINECA GridFTP server
| UI Text Box |
|---|
iRODS repository --> Server Domain: gftp.repo.cineca.it ; Server Port: 2811 MARCONI machine --> Server Domain: gftp.marconi.cineca.it ; Server Port: 2811 MARCONI machine for PRACE users --> Server Domain: gftp-prace.marconi.cineca.it ; Server Port: 2811 GALILEO machineGALILEO 100 machine --> Server Domain: gftp.galileog100.cineca.it ; Server Port: 2811 MARCONI-100 machine --> Server Domain: gftp.m100.cineca.it ; Server Port: 2811 |
...